
Tensorflow::OpenPose Installation
2019. 7. 3. 15:23
OpenPose Installation

1. 나의 환경 확인하기
Operating Systems
- Windows 7, 8, 10
2. 사양 확인하기
Requirements and Dependencies
CUDA (Nvidia GPU) version:
- NVIDIA graphics card with at least 1.6 GB available (the nvidia-smi command checks the available GPU memory in Ubuntu).
- At least 2.5 GB of free RAM memory for BODY_25 model or 2 GB for COCO model (assuming cuDNN installed).
- Highly recommended: cuDNN.
OpenCL (AMD GPU) version:
- Vega series graphics card
- At least 2 GB of free RAM memory.
CPU-only (no GPU) version:
- Around 8GB of free RAM memory.
- Highly recommended: a CPU with at least 8 cores.
3. OpenPose 레포지토리 만들거나, 동기화하기
Clone OpenPose
The first step is to clone the OpenPose repository.
- Windows: You might use GitHub Desktop.
- git clone https://github.com/CMU-Perceptual-Computing-Lab/openpose


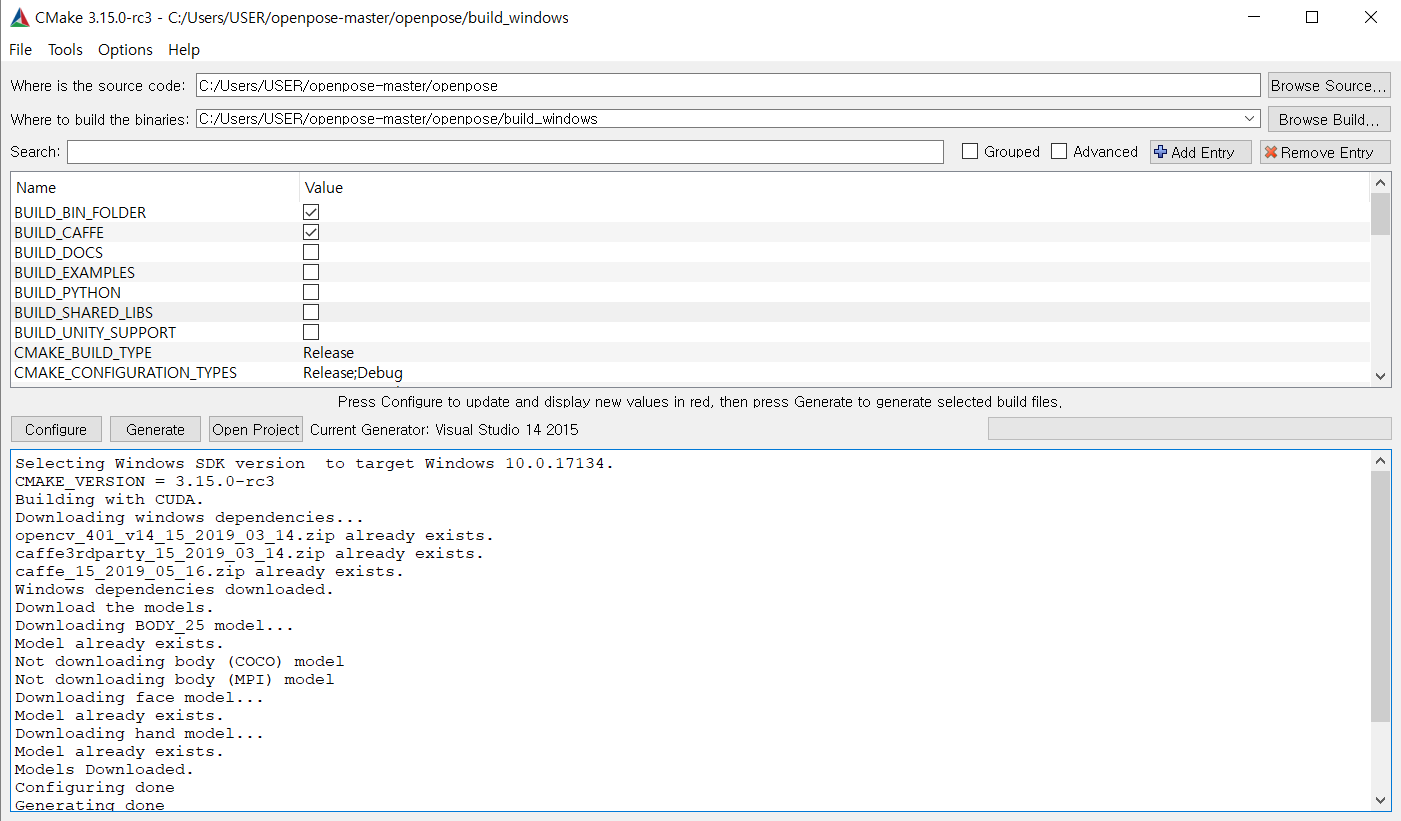
4. CMake, CUDA, cuDNN 설치
3rdparty는 clone한 openpose 폴더 안에 존재~ 이곳에서 3rdparty/windows/ 에 caffee들을 설치하면 된다.

openpose 설치한 폴더를 다음과같이 설정해주고, build_windows는 내가 만들어도 되고, 없는데 configure누르면 만들까요? 라고 물어본다 .

설치는 했다만....
내 노트북은 가성비는 오지지만 GPU가 없는 노트북이라 결국 오픈포즈는 돌릴 수 없다는 것이 함정이다.
'Python > Tensorflow' 카테고리의 다른 글
| Tensorflow:: Resnet_v2 와 Inception을 활용하여 딥러닝 하기. (0) | 2019.07.16 |
|---|---|
| Tensorflow::파이썬 라이브러리 설치하기 (numpy, matplotlib, pandas) + PyQt5 설치하기 (0) | 2019.07.12 |
| Tensorflow::TensorBoard사용하기 (0) | 2019.06.04 |
| Tensorflow::DeepLearning 추가학습 2탄 (0) | 2019.05.24 |
| Tensorflow::DeepLearning 수어 번역기 추가학습 시키기 (1) | 2019.05.24 |